
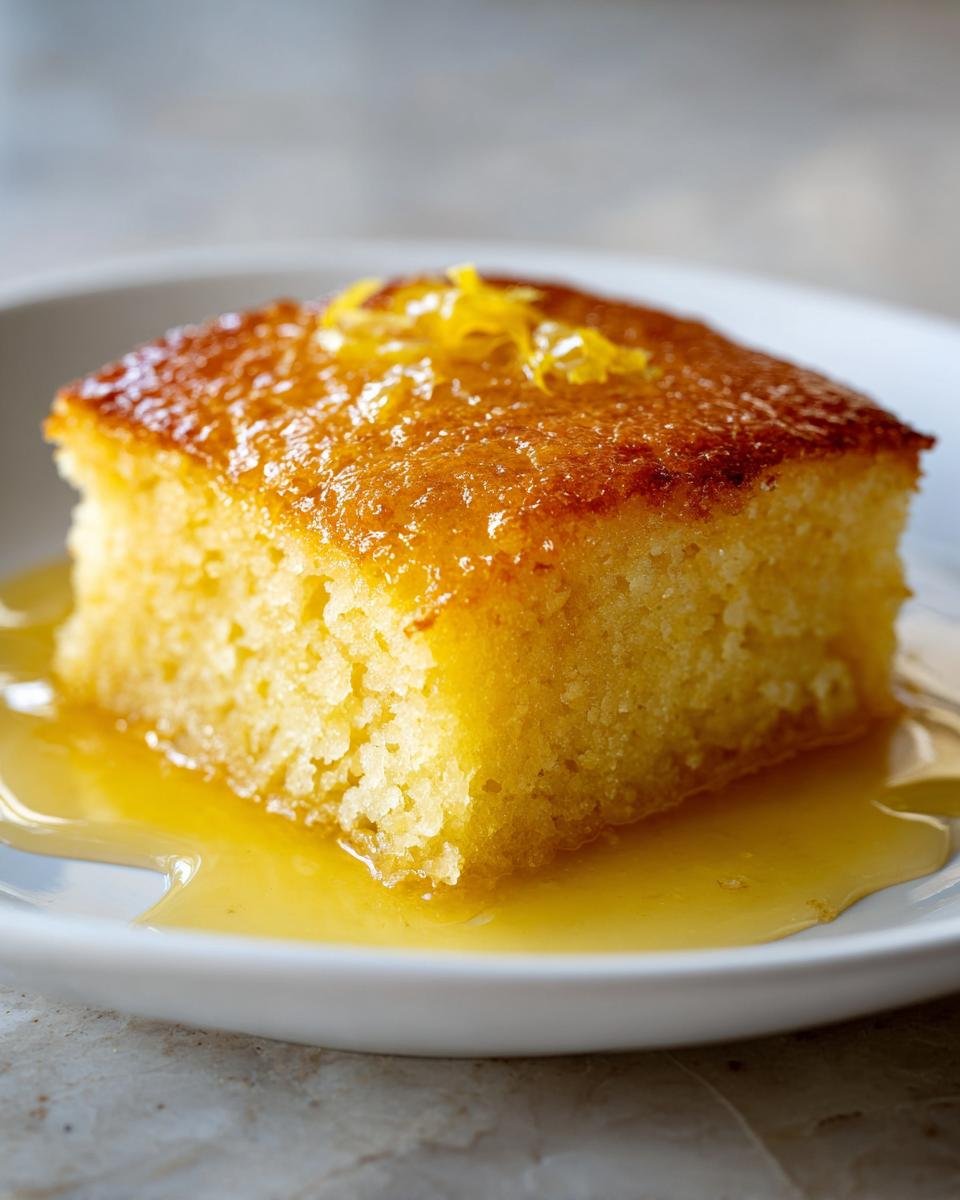
When the sun is shining, nothing beats a dessert that tastes like pure sunshine but takes next to no effort, right? Forget fussy pastry—I’m talking about something truly special. I remember the very first time I tried this recipe; I poured the liquids over the batter, expected a mess, and when it came out of the oven, the top was golden and the bottom had turned into this rich, tart sauce. It was absolute kitchen performance art! That’s why we call it the Magic Lemon Cobbler. Seriously, this baked lemon pudding creates perfect, distinct layers all by itself. It’s the easiest, brightest lemon dessert you will ever make, and trust me, it belongs on your table this week.
Why This Magic Lemon Cobbler Recipe Works So Well
Honestly, this recipe is perfect for those days when you want something unbelievably good but your energy levels are hovering near zero. It’s bright, it’s zesty, and it manages to taste bright lemon without tasting artificial. I always turn to this one when guests drop by unexpectedly. If you want to see how brilliant baking can be, you should bookmark this one—it’s one of my favorite ways to enjoy a simple lemon dessert (you can check out the nutrition later if you’re curious!).
- Minimal effort required—seriously, no mixer needed, just a whisk and a spoon!
- That incredible, bright, zesty lemon flavor hits just right.
- It creates three distinct textures: a fluffy cake top, a firm middle, and a liquid sauce bottom.
- It comes together faster than boiling water for tea.
The Science Behind the Magic Lemon Cobbler Layers
The whole layered effect sounds complicated, but it’s just pure physics, which I love! When you pour that liquid sugar and lemon topping over the batter, it’s heavier than the flour/milk batter underneath. Because you don’t stir, gravity does the heavy lifting. The heavy lemon mixture sinks right down to the bottom of the pan during baking. As it cooks, it creates that glorious, tart sauce right underneath the baked cake layer. It’s cheating, but the best kind of baking cheat there is!
Gathering Ingredients for Your Magic Lemon Cobbler
The beauty of this recipe is that you probably have everything you need sitting in your pantry right now. This isn’t a recipe that calls for weird extracts or specialty store trips! We need just a few simple dry goods and the star of the show: fresh lemons. For the batter itself, make sure you grab exactly one cup of all-purpose flour, one cup of granulated sugar, a teaspoon of baking powder for that gentle lift, and just a pinch of salt to balance everything out. Don’t forget the one cup of milk and 1/4 cup of unsalted butter, which needs to be fully melted before you start mixing.
Now for the magnificent lemon part! You absolutely must use fresh lemon juice—you’ll need about 1/2 cup of it. And don’t skip the zest! That zest is where all the vibrant flavor lives. Remember, the sugar is split: you’ll use 1/2 cup in the batter, and the remaining 1/2 cup goes straight into your lemon juice mixture. If you’re curious about other bright, easy baked goods, you might enjoy checking out my lemon cream cheese loaf sometime!
Step-by-Step Instructions for the Magic Lemon Cobbler
Executing this recipe is so satisfying because you go from mixing bowls to a golden dessert in under an hour total. Just follow these simple steps carefully, and you’ll be guaranteed to have those magical layers. I think the key is trusting the process—especially when it comes to not stirring at the end! If you’ve ever tried my lemon tiramisu, you know I love a good structured dessert, and this cobbler delivers.
Preparing the Baking Dish and Batter
First things first: you gotta get that oven warmed up to 350 degrees Fahrenheit. I use an 8×8 inch glass baking dish, and I make sure to lightly grease it so there’s no chance of sticking later—this stuff has sugar, and sugar loves to glue itself to pans!
- In a medium bowl, grab your whisk. Combine the flour, exactly 1/2 cup of the granulated sugar (save the other half!), the baking powder, and the salt. Whisk them together really well so everything is perfectly distributed before adding liquid.
- Now for the wet stuff that makes the cake layer. Pour in one cup of milk and your 1/4 cup of melted butter. Mix this gently with a spatula or whisk until everything is *just* combined. I mean it: just combined! If you overmix the batter here, you’ll develop too much gluten, and your cake layer won’t be as tender as it should be. A few little lumps are totally fine, honestly.
- Pour that batter right into your greased 8×8 dish, spreading it out evenly with the back of your spoon.
Creating the Lemon Layer for Your Magic Lemon Cobbler
This next part is where the magic happens, so pay attention! This is the step that separates this recipe from every other baked item you’ve made.
- In a completely separate, small bowl—don’t mix this with the batter—combine the remaining 1/2 cup of sugar with the 1/2 cup of fresh lemon juice and all that beautiful lemon zest. Stir it until the sugar mostly dissolves into the liquid.
- Take your time here. Slowly and evenly pour this bright lemon-sugar mixture right over the top of the uncooked batter in the pan. You have to pour it so it covers the whole surface.

- And here is the most critical rule: **Do not stir!** Resist the urge! If you try to mix it in, you ruin the science, and you won’t get your layers. Just let it sit there beautifully separated.
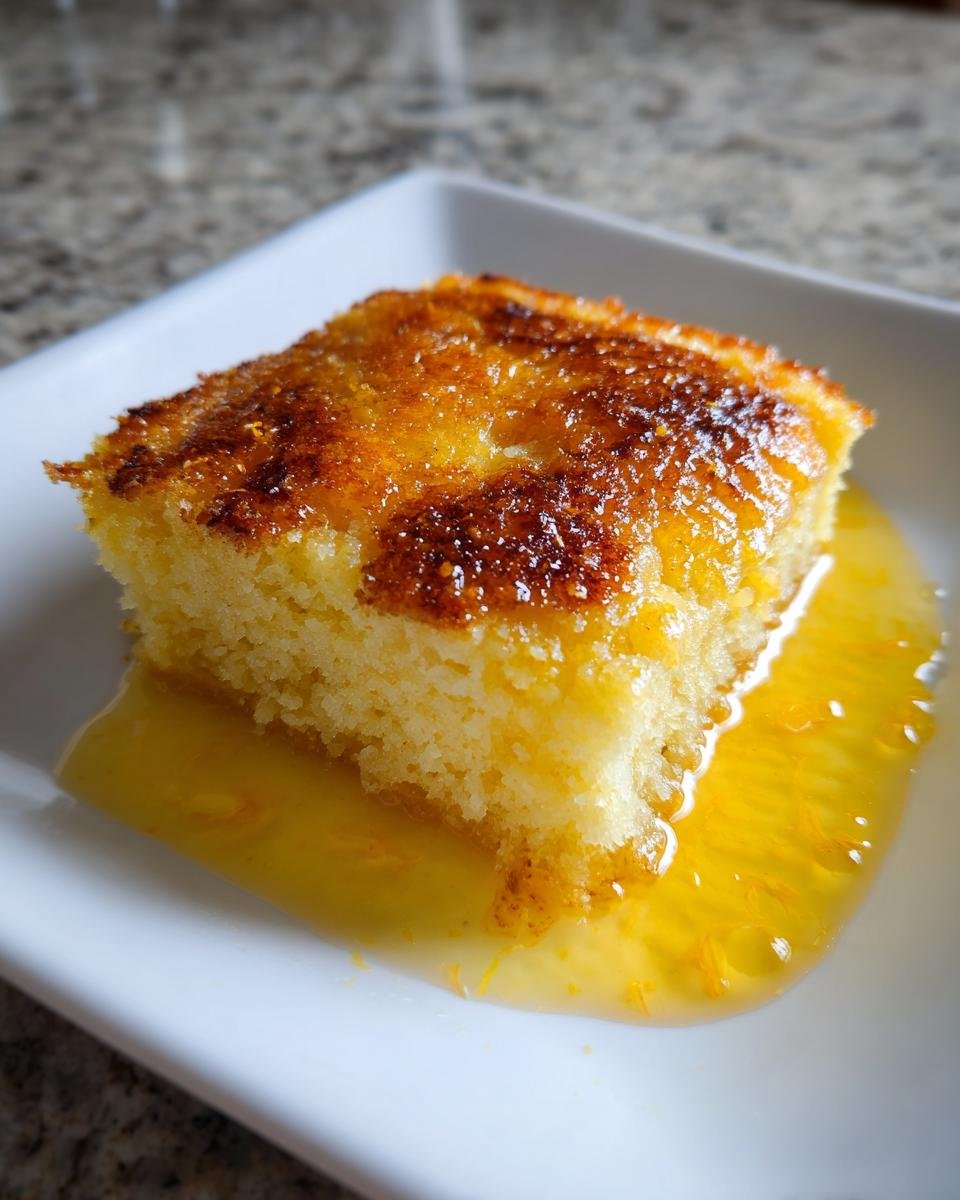
- Pop that dish into the 350°F oven and let it bake for about 30 to 35 minutes. You’ll know it’s done when the top is a lovely golden brown color and most of that liquid on top has been fully absorbed by the cake batter. If you see a little syrupy pool forming on the bottom, that’s the sauce! It made it!
When you pull it out, let it cool down a tiny bit before diving in. If you need more baking inspiration, check out this recipe for amazing lemonade pie!
Tips for the Perfect Magic Lemon Cobbler Bake
Even though this recipe is super simple, there are just a couple of little tricks I’ve picked up over the years to ensure that beautiful layer separation happens every single time. You want that tart sauce underneath, not a soggy top! If you’ve made mine or another recipe for lemon raspberry meringue cheesecake, you know how important the details are for texture stability.
Don’t skip the slow pour! This is my number one tip. When you pour that lemon-sugar mixture over the batter, if you dump it all in one spot, the batter underneath will get way too much liquid saturation and might just collapse in that area. Take a full minute, maybe two, just slowly drizzling it over the entire surface until it’s all covered. It looks weird sitting on top, but trust the chemistry!
Make sure your oven rack is centered. Since the magic depends on the heavier liquid sinking, you need even heat circulating all around. If your oven runs hot on the top rack, you risk burning the cake layer before the sauce even has a chance to form underneath. Center rack for middle-of-the-road heat distribution, always.
When checking for doneness, look past just the toothpick test. With cobblers like this that turn into a sauce, the visual cue is key. You want the top surface to look set, deeply golden, and not wet anymore. If the top looks dry but a toothpick comes out perfectly clean—like, zero moist crumbs sticking—it might be slightly overdone, and that sauce might start to dry out. A few moist crumbs clinging to the wood means the cake is done but the sauce underneath is still beautifully luscious.
Finally, give it a little rest time after pulling it out. I know you’ll want to dig right in when you see that steam, but letting it sit on the counter for about 10 to 15 minutes allows the layers to fully settle and firm up a tiny bit. If you try to scoop it immediately, the sauce might run everywhere. Patience pays off, just like waiting for that Grandma’s carrot cake to cool!
Serving Suggestions for Your Magic Lemon Cobbler
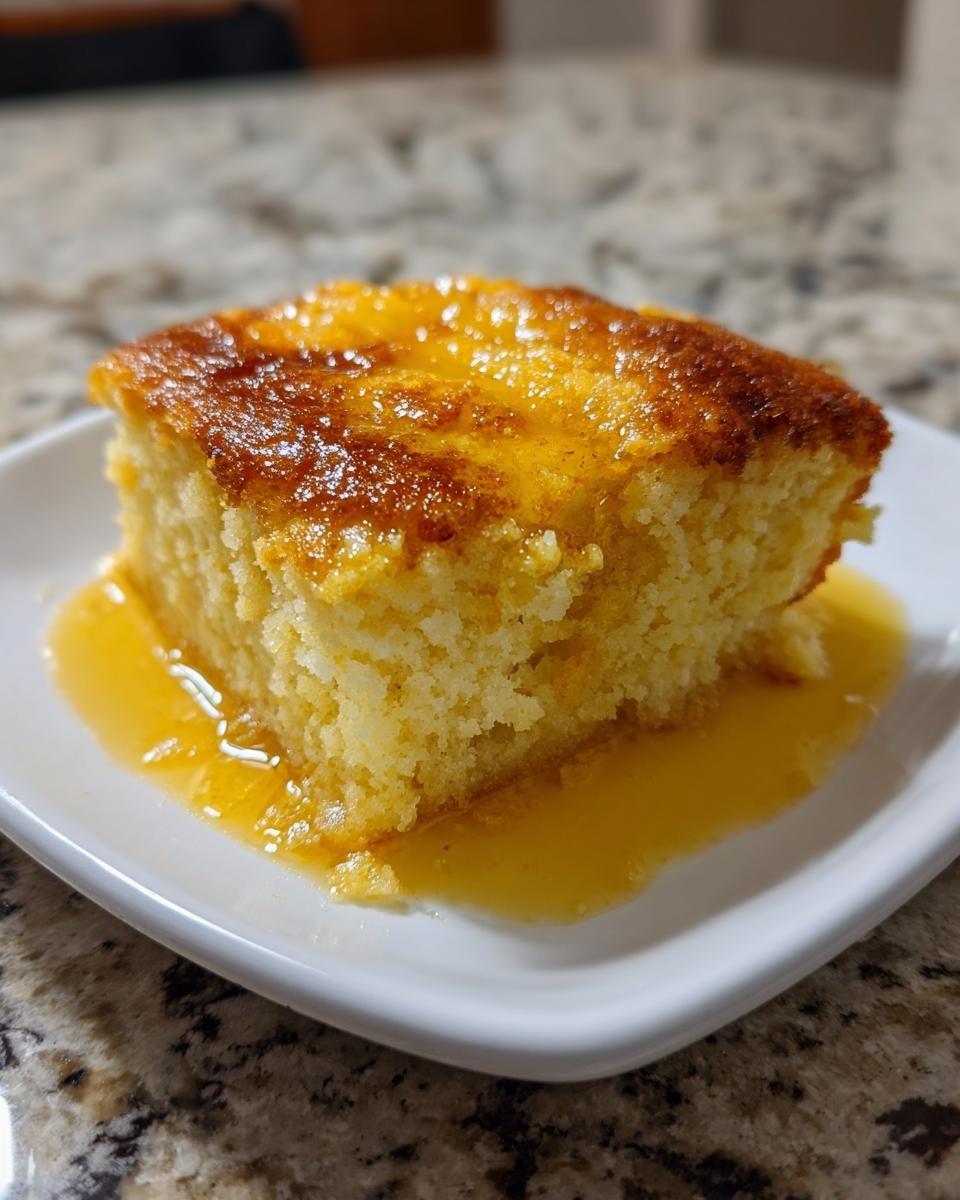
Okay, the best part! Once your Magic Lemon Cobbler has cooled down just enough—not piping hot, but definitely warm—it’s time to serve this sunshine dessert. This recipe is really flexible, but I have a couple of ways I absolutely adore eating it, especially if I have company.
The simplest way, and the way my sister prefers, is just a light dusting of powdered sugar right over the top before I bring it to the table. It looks so pretty against that golden baked crust. It’s elegant without trying too hard, which I love about this whole recipe!
But, if you’re celebrating or just feeling a little decadent? You have to serve it warm with vanilla ice cream. The heat from the cobbler melts the ice cream right into that tart lemon sauce pooling at the bottom—it’s the perfect temperature and flavor contrast. Seriously, try it just once like that!
If you’re looking for even more amazing dessert inspiration after you devour this, I have a whole collection of my favorites you can browse (you can see some of my other must-try baked goods here). But honestly, this cobbler is always the star!
Storing and Reheating Your Magic Lemon Cobbler
I truly hope you have leftovers, because this Magic Lemon Cobbler is honestly even better the next day! The flavors seem to settle in overnight, and the sauce thickens up perfectly. But since we’re dealing with dairy (the milk in the cake) and a lot of juicy fruit, you can’t just leave it on the counter.
Once it has cooled completely to room temperature—and I mean completely cool, otherwise you risk sweating condensation in the container—cover the baking dish tightly with foil or transfer the pieces into an airtight container. Store this in the refrigerator. It keeps really well this way for about three to four days. I usually just use the same 8×8 glass dish and wrap it up; that way, I don’t have to transfer the layers, which can sometimes crack if you move them too much.
Now, when it comes to reheating, you want to gently wake up those layers without drying out the cake top. Microwaving works in a pinch, but it can sometimes make the cake layer a little chewy. If you’ve got time, I strongly recommend using the oven or an air fryer for the best results.
For the oven method, just take a slice or two, place it on a small, oven-safe plate, and cover it loosely with foil. Warm it in a toaster oven or regular oven set to about 300 degrees Fahrenheit for about 10 minutes. That gentle heat warms the sauce back up just enough to make it luscious again. If you must use the microwave, zap it for 15 to 20 seconds—any longer and you risk turning that cake top into rubber, trust me on this one!
Variations on the Classic Magic Lemon Cobbler
Part of the fun in cooking, even with a recipe this perfect, is playing around with it a little bit, right? You don’t have to change the core physics—we still need that heavy liquid mixture to sink beneath the lighter batter—but we can absolutely tweak the flavor profile! I love experimenting with different citrus fruits, especially when I need that bright, sunny flavor but maybe don’t have fresh lemons on hand.
If you switch out the lemon for lime, you get a glorious Key Lime Cobbler that is just as mind-blowing! The process is exactly the same, but use fresh lime juice and lime zest instead. Seriously, try making a lime version, especially if you serve it with some whipped cream—it tastes like summer vacation.
For a slightly warmer flavor, which is really nice when the weather starts turning cooler, try adding a tiny bit of spice to the dry ingredients when you mix the flour, sugar, and baking powder. I mean tiny! A quarter teaspoon of ground ginger or even a pinch of cardamom blended into the flour mixture gives the cobbler this unexpected, sophisticated depth that perfectly complements the tartness. It’s a lovely surprise when you’re expecting just lemon.
Another fun twist, especially if you’re serving this to folks who like a little texture in their batter, is incorporating vanilla extract into the wet batter mix *before* you combine it all. Lemon and vanilla are best friends! Just be careful not to add too much—maybe half a teaspoon should do the trick so it doesn’t overpower the citrus. If you happen to love watermelon recipes, you might want to check out this fun watermelon lemonade recipe for a totally different kind of bright flavor!
The key always remains: the lemon-sugar mixture must be poured gently and never stirred into the base batter. As long as you respect that one rule, you can swap out the citrus, add a little spice, or throw in a teaspoon of vanilla, and you’ll still get that beautiful, magical sauce at the bottom of your dish!
Frequently Asked Questions About This Magic Lemon Dessert
You know that when you try a recipe that seems a little too good to be true, you’re going to have questions! I’ve pulled together the ones I hear most often about mastering this easy lemon dessert. Hopefully, this clears things up so you can get baking right away. If you’re looking for another super easy lemon treat, my lemonade pie is another big winner when it comes to minimal effort!
Can I use bottled lemon juice instead of fresh lemon juice?
I really, really advise against bottled juice here, to be honest. The bottled stuff is usually pasteurized, and it just doesn’t have that bright, sharp fragrance and true tartness that you need to create the magic layer. Freshly squeezed juice is key because its acidity and volatile oils are what interact perfectly with the sugar to sink and form that sauce. It’s worth taking the extra five minutes to just squeeze those lemons!
Can this Magic Lemon Cobbler be made ahead of time?
You absolutely can prep this ahead, but you should always bake it right before serving for the absolute best texture. Like I mentioned in the storage section, the leftover cobbler is great refrigerated. But for the magic layer to be perfect—fluffy cake on top, liquid sauce below—it needs to be baked the same day you plan to serve it. If you assemble it the day before, the liquid will start to soak into the batter too much before it even hits the heat, and you’ll end up with more of a consistent lemon pudding instead of distinct layers.
What is the best size baking dish to use for this recipe?
The recipe is calibrated perfectly for an 8×8 inch baking dish. This gives the batter just the right depth so the liquid has enough distance to travel and form that distinct sauce layer at the bottom. If you use a larger, shallower dish—say, a 9×13 inch pan—the liquid layer will be way too thin, and you’ll probably just end up with a lemon-flavored cake. If anything, if you only have a square dish, use a slightly smaller one, like 7×7, and just allow an extra 5–10 minutes of baking time.
My cobbler came out soupy on top. What did I do wrong?
Oops! That usually means one of two things, and you know exactly what they are if you’ve read my instructions closely! 1. You stirred the lemon mixture into the batter after pouring it on. That’s a major no-no because it stops the separation! 2. You didn’t bake it long enough. Sometimes the top looks golden, but if the liquid hasn’t fully absorbed into the batter yet, it will still seem wet. Give it another 5 minutes just to be sure those top layers have set up properly. If you ever need a reminder, I have another great, easy recipe for state fair lemonade that also benefits from careful pouring!
Estimated Nutritional Snapshot for Magic Lemon Cobbler
Now, listen up because I always get asked about the numbers, especially since this tastes rich and decadent! You have to remember that these figures are just estimates based on the standard ingredients listed in the recipe (like using regular sugar and whole milk). Every kitchen is a little different, so think of this as a general guide to what you’re looking at for one serving.
Because this dessert has a cake part and a definite syrupy sauce part, the sugar content is naturally a bit higher, which is why it tastes so satisfying! But honestly, for a homemade dessert, these numbers are pretty reasonable for a bright, satisfying treat. You can find loads of other low-calorie gems on the site if you’re ever counting meticulously.
- Serving Size: 1 serving
- Calories: Roughly 280 per serving
- Sugar: Around 35 grams
- Total Fat: About 10 grams
- Saturated Fat: 6 grams are usually saturated
- Carbohydrates: In the neighborhood of 45 grams
- Protein: Around 4 grams
- Sodium: Pretty low, coming in near 120 mg
It’s a dessert, so it’s going to have sugar, but the intense lemon flavor means you really feel satisfied with just one square. That magic layer really delivers a lot of punch for the calories!
Share Your Magic Lemon Cobbler Experience
Alright, my kitchen friends, now it’s your turn! Once you’ve experienced that little bit of kitchen alchemy where the layers separate right before your eyes, I absolutely want to hear all about it. Seriously, seeing your final results is what keeps me inspired to keep sharing these wonderfully easy recipes.
Did you stick to the classic vanilla ice cream pairing, or did you get adventurous with some freshly whipped cream? Did your 8×8 dish turn out perfectly golden, or maybe you tried a variation, like using lime instead of lemon? Don’t be shy!
Please take a moment to leave a rating down below—a quick five stars tells me you loved the recipe, and detailed comments help others trust the process, especially when it comes to tricky layered desserts like this one. If you snapped a picture of that beautiful sauce layer, please tag me on social media! I love seeing this Magic Lemon Cobbler pop up on your feeds.
If you have any questions that weren’t covered in the FAQ section, toss them into the comments too! If you need to get in touch with me personally about recipe challenges or partnership ideas, you can always use the contact form (just click here!). Happy baking, and enjoy digging into that bright, tart sauce!
Print
Magic Lemon Cobbler
- Total Time: 45 min
- Yield: 6 servings 1x
- Diet: Vegetarian
Description
A simple, bright lemon cobbler recipe that bakes into distinct layers.
Ingredients
- 1 cup all-purpose flour
- 1 cup granulated sugar, divided
- 1 teaspoon baking powder
- 1/4 teaspoon salt
- 1 cup milk
- 1/4 cup unsalted butter, melted
- 1/2 cup fresh lemon juice
- 1 tablespoon lemon zest
Instructions
- Preheat your oven to 350 degrees Fahrenheit. Lightly grease an 8×8 inch baking dish.
- In a medium bowl, whisk together the flour, 1/2 cup of the sugar, baking powder, and salt.
- Add the milk and melted butter to the dry ingredients. Mix until just combined; do not overmix.
- Pour the batter into the prepared baking dish.
- In a separate small bowl, mix the remaining 1/2 cup of sugar with the lemon juice and lemon zest.
- Slowly pour the lemon-sugar mixture evenly over the top of the batter. Do not stir.
- Bake for 30 to 35 minutes, or until the top is golden brown and the liquid has been absorbed, forming a sauce underneath.
- Let the cobbler cool slightly before serving.
Notes
- Serve warm with a dusting of powdered sugar or a scoop of vanilla ice cream.
- The lemon layer will sink to the bottom during baking, creating a sauce.
- Prep Time: 10 min
- Cook Time: 35 min
- Category: Dessert
- Method: Baking
- Cuisine: American
Nutrition
- Serving Size: 1 serving
- Calories: 280
- Sugar: 35
- Sodium: 120
- Fat: 10
- Saturated Fat: 6
- Unsaturated Fat: 4
- Trans Fat: 0
- Carbohydrates: 45
- Fiber: 1
- Protein: 4
- Cholesterol: 25
Keywords: lemon cobbler, magic lemon dessert, easy lemon dessert, baked lemon pudding