
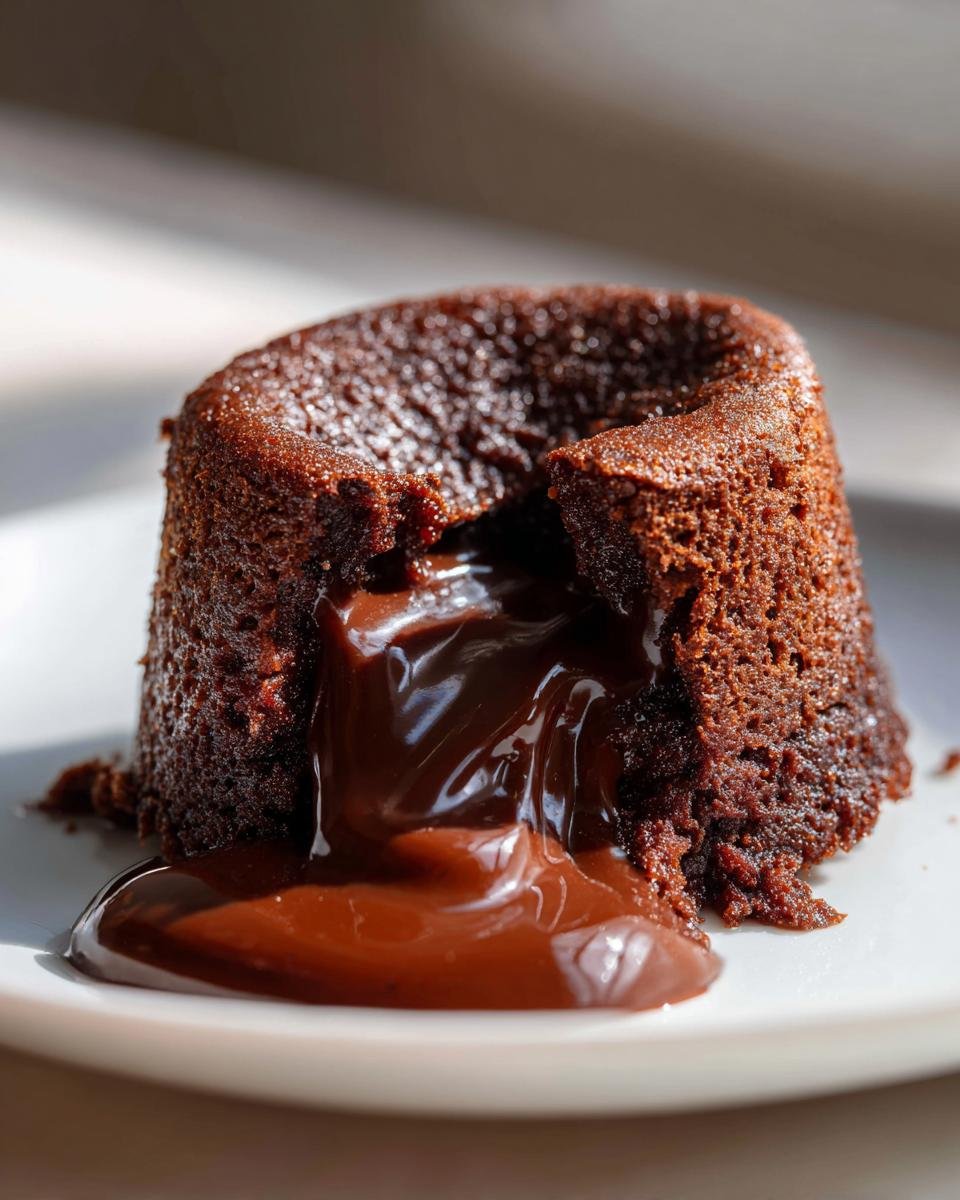
Oh my goodness, is there anything better than slicing into a perfectly baked cake and watching that hot, velvety river of melted chocolate ooze out? Honestly, when I first tried making a Chocolate Lava Cake, I thought it was some kind of bakery magic reserved only for fancy restaurants. I ruined batch after batch before I finally figured out the timing. Trust me when I say, this recipe changes everything!
This isn’t some complicated dessert that takes all day. We’re talking about a simple, quick recipe that delivers the absolute perfect Chocolate Lava Cake every single time. It’s ridiculously easy, which means you can whip up these gorgeous individual portions for a weeknight treat or a last-minute surprise. The gooey center is non-negotiable here; it’s the whole point!

Why This Chocolate Lava Cake Recipe Delivers (E-E-A-T Focus)
I’ve messed this dessert up more times than I want to admit—usually by overbaking it into a sad, solid hockey puck! But I finally cracked the code on getting that signature liquid center. That’s why you can trust this recipe. It focuses on three things that really matter when you’re baking something this quick.
- It’s lightning fast: Seriously, you can be eating this decadent treat in under 25 minutes total.
- Portion perfection: Since they are made in individual ramekins, everyone gets their own perfect cake crust and gooey inside.
- Guaranteed ooze: I know exactly what to look for so you don’t end up with a dense brownie instead of a molten surprise.
Quick Prep Time for Your Chocolate Lava Cake
The prep time is only 10 minutes, and that’s not my lying-to-the-kids estimate, either! Because there’s no serious cooling or mixing, you can honestly decide you want a Chocolate Lava Cake ten minutes before you serve it. Try that with a layer cake!
Achieving the Perfect Molten Center Every Time
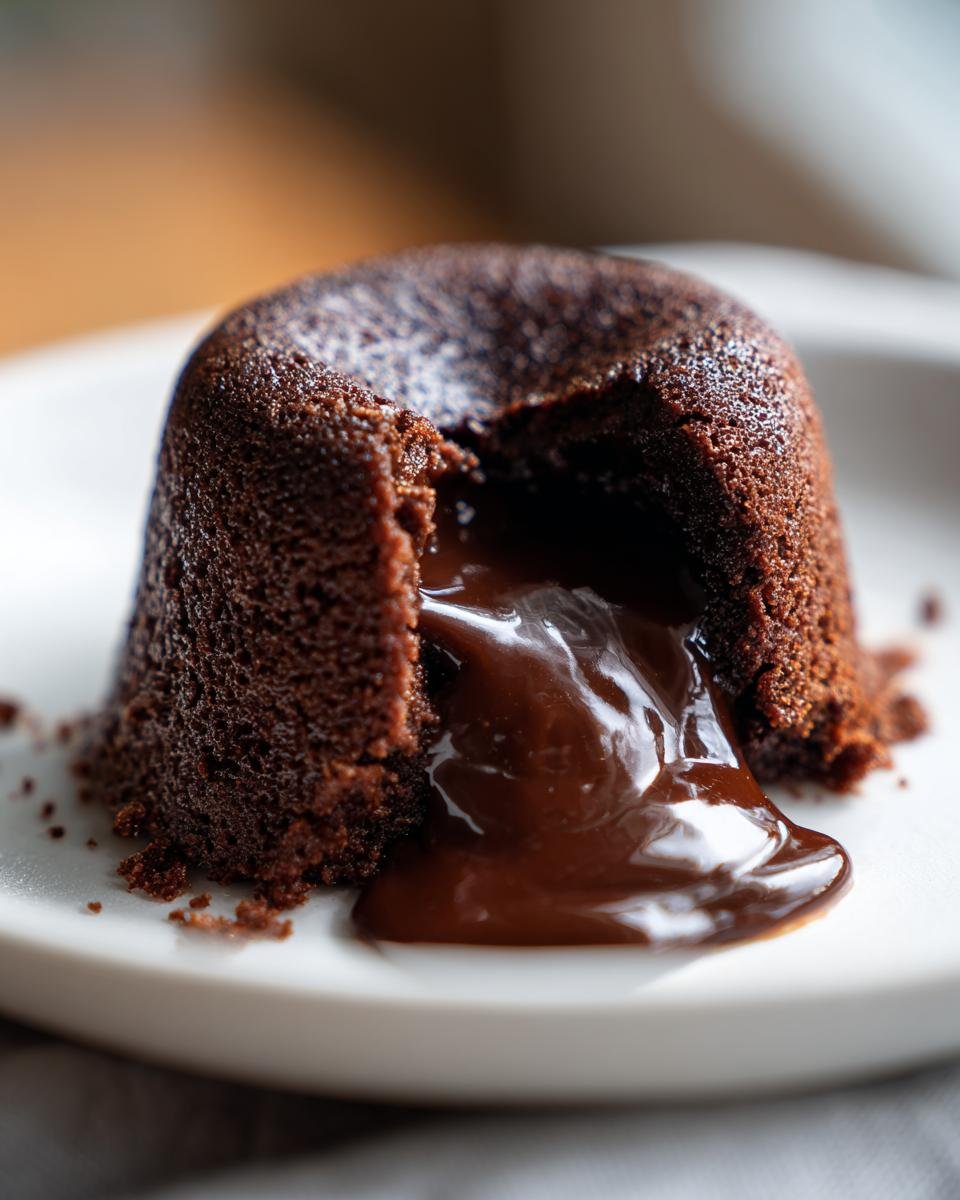
Here’s my best piece of advice: look past the timer! When I test these, I check the edges first. If the sides of the cake look totally set—like they are holding their shape perfectly—and maybe just barely pulling away from the ramekin, that’s the money shot. The center should look a little wobbly when you gently shake the pan. If you wait for the wobble to disappear, oops, you overbaked it!
Essential Ingredients for Your Chocolate Lava Cake
Okay, let’s talk inventory! Since this recipe is so fast and uses so few components, the quality of what you use really makes or breaks the final taste. I’ve listed exactly what you need below. Don’t skimp on the chocolate here; it’s the star of our Chocolate Lava Cake!
- 4 ounces bittersweet chocolate, chopped
- 4 tablespoons unsalted butter
- 1 large egg
- 1 large egg yolk
- 2 tablespoons granulated sugar
- 1 tablespoon all-purpose flour
- Pinch of salt
Ingredient Notes and Substitutions for Chocolate Lava Cake
For the chocolate, I insist on using bittersweet—aim for something between 60% and 70% cacao if you can find it. That little bit of dark bitterness is what cuts through the sweetness and keeps the molten center from tasting too heavy. If you absolutely can’t find bittersweet, go for high-quality semi-sweet, but really, just use the best dark chocolate bar you have lying around. It elevates this simple Chocolate Lava Cake immediately!
Step-by-Step Instructions to Make Chocolate Lava Cake
The first thing you have to do is get that oven hot! We’re working fast here, so set your oven right now to 425 degrees Fahrenheit. Next, grab your two 6-ounce ramekins. You don’t want to skip preparing these pans, or you’ll never get them out in one piece!
Preparing Ramekins for Easy Chocolate Lava Cake Release
I always use a mix of butter and flour for greasing, rubbing it all over the bottom and up the sides. Don’t be shy with the coating! If you’re worried—and honestly, you should be, because a broken Chocolate Lava Cake is a tragedy—you can use my secret trick. I cut out a tiny circle of parchment paper just to line the bottom of the ramekin before I grease it. It’s basically insurance for the perfect release!
Melting Chocolate and Butter for the Chocolate Lava Cake Batter
Now for the gooey base. Pop your chopped chocolate and butter into a microwave-safe bowl. Microwave it in short bursts, like 30 seconds at a time, stirring well after each one. This stops the chocolate from seizing up on you. Once it’s completely smooth, set it aside for a moment so it cools just a tiny bit. Why? Because if you dump hot chocolate into the eggs, you’re going to accidentally make scrambled eggs, and that defeats the whole purpose of this Chocolate Lava Cake!
In a separate bowl, take a minute to whisk your whole egg, extra yolk, and sugar until it looks pale and ribbons form when you lift the whisk. Then, gently whisk that slightly cooled chocolate mixture in. Finally, fold in your tablespoon of flour and that pinch of salt. Just fold until you don’t see white streaks anymore; that’s it. You can find a whole recipe breakdown on making the perfect ultimate chocolate delight right here if you want even more tips!
Baking and Inverting Your Individual Chocolate Lava Cake
Divide that delicious batter evenly between your prepared ramekins. Pop them in the hot oven and set your timer for 12 minutes. Remember what I said: you’re looking for set edges and a soft, wobbly center. Once they look right—usually around 12 to 14 minutes—pull them out. You must let them rest for exactly ONE minute. No more, no less! Then, carefully run a thin knife around the edge and quickly flip that gorgeous Chocolate Lava Cake onto its plate. Watch the magic happen!
Tips for the Best Chocolate Lava Cake Results
I’ve developed a few habits over the years that ensure I never end up with a sad, overbaked puck of chocolate. First, and this is crucial for any high-heat recipe, get an oven thermometer! My built-in oven thermometer is always nine degrees off, which is enough to ruin this recipe. Buy one; it’s cheap insurance for perfect heat.
I also always make sure the chocolate and butter are perfectly smooth before they cool down. If you have any grainy bits of chocolate left, that texture will transfer right into your final cake, and nobody wants that. If you love dense, fudgy textures, you might want to check out this recipe for epic homemade brownies once you master these lava cakes! Seriously though, for the lava cake, focus on that batter consistency.
Finally, don’t try to make these ahead of time and bake them later. The magic of the Chocolate Lava Cake relies on that immediate transfer from cooled batter to hot oven. Do the prep work, but only bake them right when you’re ready to serve. That 14-minute window is your golden ticket!
Serving Suggestions for Your Chocolate Lava Cake
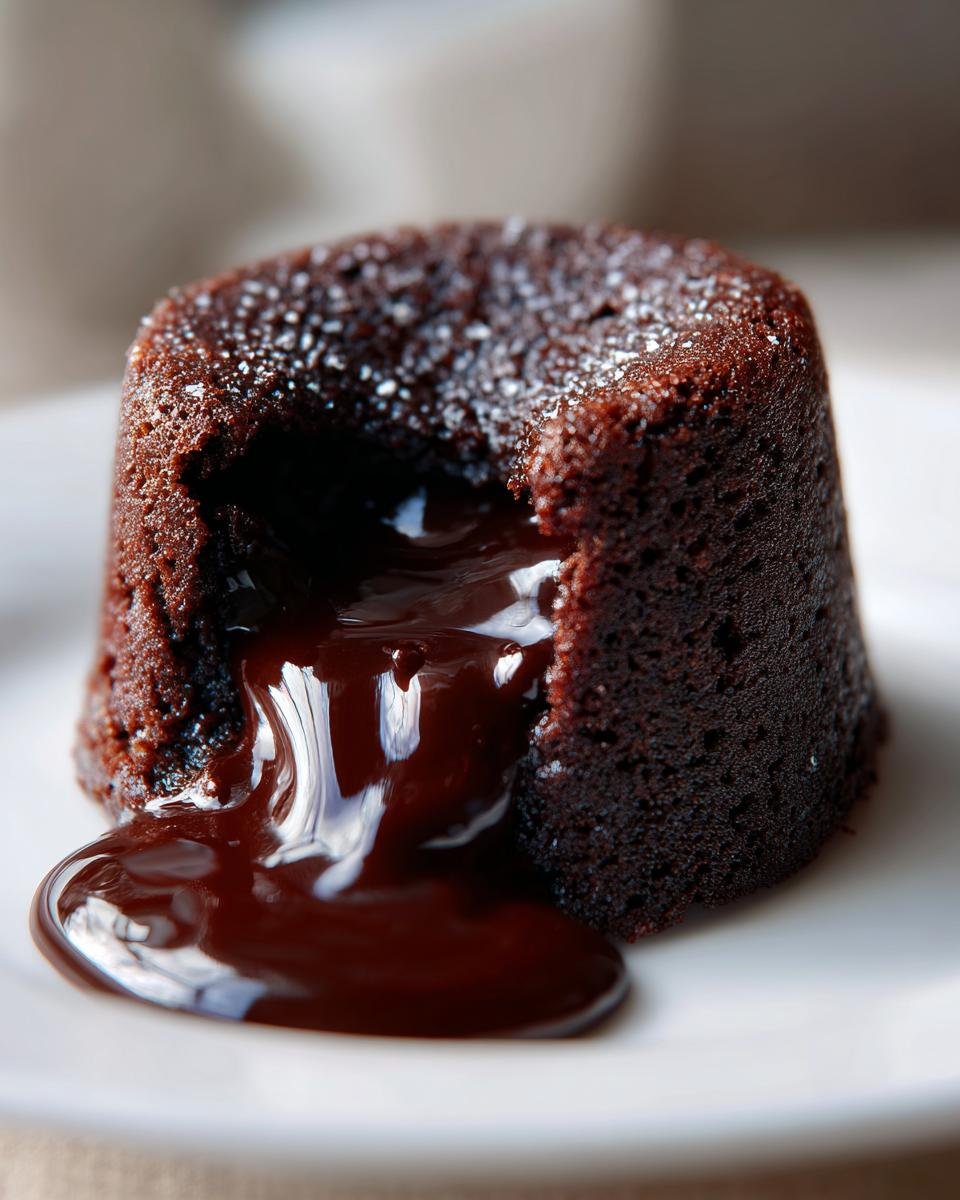
Okay, the cake is out of the ramekin, it’s gleaming on your plate, and now comes the fun part: the presentation! A Chocolate Lava Cake on its own is amazing, but a few simple touches turn it into a real centerpiece. My go-to, classic presentation is usually just a light dusting of powdered sugar right over the top. It looks so elegant, and it’s an easy nod to the simplicity we loved in the original recipe.
But if you’re going for that restaurant quality, you absolutely need a cool counterpart to that hot, liquid center. A scoop of good vanilla bean ice cream is the absolute winner here. The contrast between the warm, rich chocolate and the cold, creamy vanilla? Perfection!
If you want to get a little extra fancy, try a drizzle of raspberry sauce on the plate before you set the cake down—it adds a lovely tartness that cuts through all that chocolate richness. Or maybe you’re feeling fruitier! If you’ve got some fresh strawberries or raspberries handy, line a few around the base. Either way, serve it right away! This Chocolate Lava Cake waits for no one!
Storage and Reheating Instructions for Chocolate Lava Cake
This is the tricky part with any Chocolate Lava Cake: timing is everything! If you’ve made the batter but aren’t ready to bake, don’t worry; you have options. You can cover those filled ramekins tightly with plastic wrap and pop them in the fridge for up to 24 hours. Just remember, when you pull them out, they need to come to room temperature for about 30 minutes before going into that 425-degree oven, or you’ll need to add a couple of minutes to the bake time.
What if you have leftovers? Baked cakes are a little tougher, honestly. The liquid center tends to solidify as it cools, and while they still taste amazing—like a very rich, fudgy cake, more like a brownie than a lava cake—you won’t get that ooze back perfectly.
If you must reheat a leftover baked Chocolate Lava Cake, do it gently. Pop it in a microwave for just 10 to 15 seconds on medium power. You want to warm it through without completely boiling the outside. If you’re trying to refresh the center, you’ll need to be very careful, but honestly, I think they are best eaten fresh!
Frequently Asked Questions About Chocolate Lava Cake
I know you’re going to love making this, but sometimes last-minute questions pop up right before you grab the whisk! I’ve collected a few things readers always ask me about making this foolproof Chocolate Lava Cake.
Can I make the Chocolate Lava Cake batter ahead of time?
Yes, you totally can! As I mentioned briefly before, the batter holds up really well, but you have to play it smart. Mix everything, portion it into the greased ramekins, cover them tightly, and stick them in the fridge. When you pull them out to bake, give them about 30 minutes on the counter to take the chill off, or add an extra minute or two to your baking time. You don’t want the cold shocking the eggs!
What type of chocolate is best for the molten center?
This is my number one sermon: use the best bittersweet chocolate you can afford! Since there are so few ingredients, that chocolate flavor has nowhere to hide. I look for bars around 65% cacao. If you use milk chocolate, it gets way too sweet, and I find that even high-quality semi-sweet doesn’t have that deep ripple of flavor that makes this Chocolate Lava Cake so memorable. Don’t just use chips if you can avoid it; chop up a good bar!
Why did my individual chocolate cake not have a liquid center?
Oh, the dreaded solid center! This almost always comes down to one thing: overbaking. It happens so fast! You must keep an eye on them after the 12-minute mark. If you’re worried about this, you can always bake one test cake first. If that one is perfect, you know exactly how your oven handles your presentation of the individual chocolate cake. Consistency is everything!
If you’re interested in other rich desserts, you absolutely have to check out my recipe for divine chocolate cheesecake next!
Estimated Nutritional Data for Chocolate Lava Cake
Okay, I know we’re supposed to be enjoying ourselves and not counting every little thing, but sometimes a quick peek at the numbers helps, right? Since these are individual servings, this breakdown is for one glorious, totally worth-it Chocolate Lava Cake. Keep in mind, these are just estimates based on the ingredients I used. If you swap out butter for oil or use a different brand of bittersweet chocolate, those numbers might shift a little bit, so treat this as a general guide!
Here is what my estimates look like:
- Serving Size: 1 cake
- Calories: 450
- Sugar: 25g
- Fat: 30g (Be careful with that saturated fat, folks!)
- Carbohydrates: 35g
- Protein: 8g
- Cholesterol: 150mg
Honestly, with 30 grams of fat and 450 calories, we’re definitely in the rich dessert category, and that’s exactly what we want! This isn’t an everyday snack; it’s a celebration cake we only pull out when we truly deserve a decadent treat. Don’t sweat the details too much—just enjoy that molten center!
Share Your Perfect Chocolate Lava Cake Experience
Alright, you’ve successfully navigated the high heat and the short baking time, and now you have this stunning, gooey Chocolate Lava Cake sitting in front of you, ready to eat! That moment deserves to be celebrated. I honestly can’t wait to hear how you got that perfect molten center to burst out!
If this recipe saved your date night or impressed your family—and I’m betting it did—please, please come back and leave a rating. Five stars makes my day, but even a quick comment tells me you succeeded too! I truly believe in this recipe. Knowing that I helped someone make a restaurant-quality dessert right in their own kitchen is the best part of running this blog.
If you took photos of your spectacular ooze, tag me on social media! I love seeing how everyone serves them up. Maybe you added a twist I haven’t thought of, or maybe you stuck perfectly to the plan. Either way, I’m cheering you on!
If this Chocolate Lava Cake was fantastic, but you’re already thinking about what to bake next, you should definitely check out my recipe for the amazing brownie cupcakes. They offer that same dark chocolate fix but in a fun, individual format!
Thanks for baking with me! Enjoy every second of that melted chocolate goodness!
Print
Simple Chocolate Lava Cake
- Total Time: 24 min
- Yield: 2 servings 1x
- Diet: Vegetarian
Description
A quick recipe for individual molten chocolate cakes with a liquid center.
Ingredients
- 4 ounces bittersweet chocolate, chopped
- 4 tablespoons unsalted butter
- 1 large egg
- 1 large egg yolk
- 2 tablespoons granulated sugar
- 1 tablespoon all-purpose flour
- Pinch of salt
Instructions
- Preheat your oven to 425 degrees Fahrenheit. Grease and lightly flour two 6-ounce ramekins.
- Melt the chocolate and butter together in a microwave-safe bowl in 30-second intervals, stirring until smooth. Set aside to cool slightly.
- In a separate bowl, whisk the whole egg, egg yolk, and sugar until pale and slightly thickened, about 1 minute.
- Gently whisk the melted chocolate mixture into the egg mixture.
- Fold in the flour and salt until just combined. Do not overmix.
- Divide the batter evenly between the prepared ramekins.
- Bake for 12 to 14 minutes. The edges should look set, but the center should still be soft.
- Let the cakes cool in the ramekins for 1 minute. Carefully run a thin knife around the edge of each cake. Invert each cake onto a serving plate.
Notes
- For easier removal, you can line the bottom of the ramekins with a small circle of parchment paper before greasing.
- Serve immediately with a dusting of powdered sugar or a scoop of vanilla ice cream.
- Prep Time: 10 min
- Cook Time: 14 min
- Category: Dessert
- Method: Baking
- Cuisine: American
Nutrition
- Serving Size: 1 cake
- Calories: 450
- Sugar: 25
- Sodium: 100
- Fat: 30
- Saturated Fat: 18
- Unsaturated Fat: 12
- Trans Fat: 0
- Carbohydrates: 35
- Fiber: 3
- Protein: 8
- Cholesterol: 150
Keywords: chocolate lava cake, molten chocolate cake, individual chocolate cake, quick dessert